Just Arrived in Thailand: Your First Week
From airport arrival to settled accommodation. SIM cards, banking, transport, neighbourhoods, and everything you need for a smooth first week without overwhelm.
TL;DR - First 72 Hours
Get a SIM card and cash at the airport. Book accommodation for 2-4 weeks (don't commit long-term yet). Open a bank account Day 2. File TM30 (house registration) within two weeks. Explore neighbourhoods. Don't lock into a long-term lease until you've walked the area and met the landlord.
Day 1: Airport to Accommodation
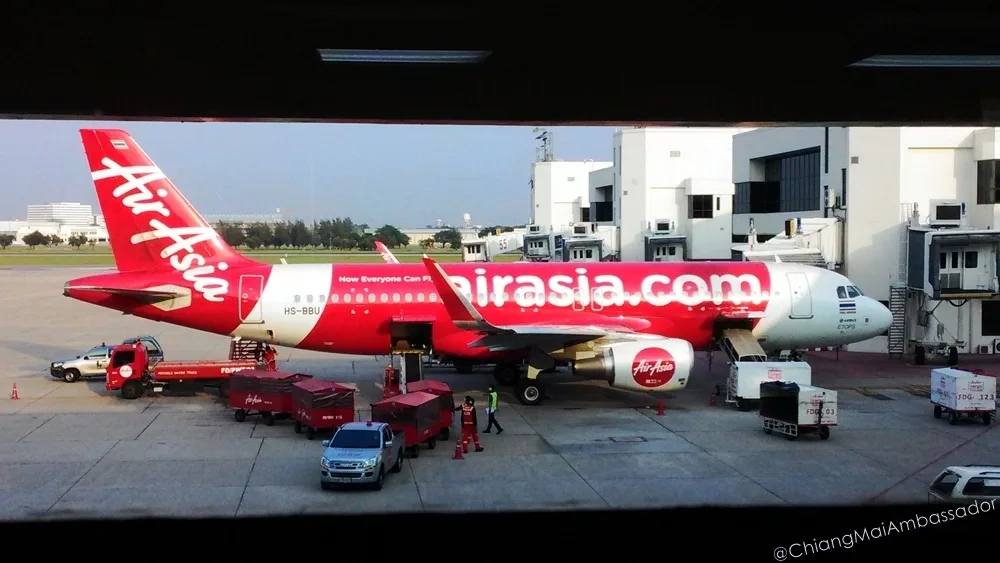
Getting From Chiang Mai International Airport
International flights arrive at Chiang Mai International (CNX), 4 kilometres from the city. Your options:
- Grab (ride-share): USD 5-8 to city center. Book via the Grab app. Reliable and standard. Mainstream choice.
- Songthaew (shared minibus): 100-150 THB per person. Slower, fun if you have light luggage. Stops often. Deep cut option.
- Hotel shuttle: Pre-arrange with your accommodation. Usually USD 8-12. Worth it if you're exhausted.
- Metered taxi: Negotiate price upfront. Often pricier than Grab.
Your airport is legitimate (not a scam). Ignore tout offers for "cheap hotels" or "special tours." They're overpriced.
SIM Card & Mobile Phone
Buy a Thai SIM card at the airport (AIS, Dtac, True kiosks). Cost: 100-200 THB for card plus initial credit. You'll need your passport.
Compare plans:
- AIS: Broadest coverage, best 4G speed. Data packages reliable.
- Dtac: Competitive pricing. Strong in urban areas.
- True: Slightly cheaper. Acceptable coverage. Less common with expats.
Mainstream: AIS for reliability. Deep cut: Dtac for value. Plan cost runs 300-600 THB monthly for 8-10GB data plus calls. Top-up at any convenience store (7-Eleven, Family Mart).
Set up WhatsApp, Google Maps, Grab, and banking apps immediately. Thailand runs on apps.
Money: Cash & Cards
ATMs are everywhere. Withdraw THB at the airport or at any 7-Eleven. Your home bank likely charges USD 1-2 per withdrawal. Expect exchange rates around 1 USD = 33-35 THB.
Exchange coins and small bills before leaving airport. Street vendors and food stalls don't take cards. Small denominations (20, 50, 100 THB notes) are essential.
First week budget: 5,000-10,000 THB (USD 140-280) in cash. You'll spend faster than expected.
Day 1-2: Short-Term Accommodation
Book 2-4 weeks in a guesthouse or short-term rental. Do not lease a year-long apartment on Day 1. You haven't felt the neighbourhood, met the landlord, or tested your commute.
Good options:
- Airbnb: USD 15-40 per night for clean, English-friendly places. Reviews matter. Read them.
- Local guesthouses: 400-800 THB per night. Often family-run, quieter, better long-term rates if you ask.
- Serviced apartments: 600-1,200 THB per night. Bigger space, kitchenette, longer-stay discounts.
Mainstream: Airbnb with good reviews. Deep cut: Contact a guesthouse owner directly and negotiate monthly rates (often 30-40% cheaper than nightly bookings).
Stay near the Old City (walking distance to temples, local food, weekend markets) or Nimman (cafes, coworking, expat community). Avoid Loi Kroh and Walking Street unless you're seeking that scene specifically.
Read more: Chiang Mai Neighbourhoods
Day 2: Opening a Bank Account
You need a Thai bank account for transfers, rent payments, and formal proof of residence (required for some visas). Open within your first week.
Major banks: Krung Thai, Bangkok Bank, Kasikornbank. All have branches near Nimman and the Old City.
Bring: Passport, TM24 form (Immigration will give you one), address proof (guesthouse letter works). Process takes 30-60 minutes.
Opening deposit: Usually 500-1,000 THB. Monthly fee: None or minimal. Choose a bank with good app support (Bangkok Bank is solid).
Once open, you can transfer money from your home bank via SWIFT (slower, pricier) or Wise (faster, better rates). International transfers land in 2-5 business days.
Day 3-7: Get Your Bearings
Transport Around the City
Chiang Mai is geographically friendly. The city fits in a 30-minute motorbike ride.
- Songthaew (shared minibus): 20-30 THB per ride. Point, they stop, you hop on. Routes aren't formal. Mainstream option.
- Grab (ride-share): USD 1.50-3 per short trip. Safest for solo travellers, women, and late night. Popular with expats.
- Motorbike taxi (samlor): Negotiate upfront. 40-60 THB for short distances. Fun, squeezy, authentic.
- Grab Bike: Motorcycle taxis via app. 15-40 THB per ride. Fast, adventurous, slightly riskier.
- Rent a motorbike: 150-250 THB per day. Hold off for a week. Learn the roads first.
Mainstream: Grab for safety and convenience. Deep cut: Songthaew once you learn the routes. Songthaew routes cluster around the moat (the ancient city walls). Study one to understand the network.
Explore Neighbourhoods
Walk Old City, Nimman, Santitham, and Hang Dong. Notice rent signage. Chat with landlords. Check internet speed at cafes. Eat lunch at local spots. Notice noise levels, traffic, and foot traffic after dark.
Read more: Chiang Mai Neighbourhoods
Visit Immigration
File TM30 (house registration) within 24 hours of arrival. Immigration office is north of the moat on Rachadamnoen Road. Bring passport and guesthouse/landlord form. Process is free, takes 10 minutes, but bureaucratic inertia is real. Go early.
Read more: TDAC Thailand Digital Arrival Card
Week 1 Checklist
- SIM card and mobile plan activated
- ATM card working, cash on hand
- Short-term accommodation booked (2-4 weeks)
- Grab installed and tested
- Bank account open (or scheduled)
- TM30 filed at Immigration
- Neighbourhoods explored on foot
- One local meal eaten (not tourist restaurant)
- Coworking space toured (if relevant to you)
- One conversation with a local or other expat (to ground yourself)
Food in Your First Week
You're jet-lagged, overwhelmed, and hungry. Here's where to eat without fatigue:
Mainstream: Night Bazaar restaurants. Familiar, English menus, reliable. 100-300 THB per meal. Safe but pricier.
Deep cut: 7-Eleven prepared food or local noodle stalls. Khao soi (local curry noodles) costs 30-50 THB. Trust it. Your digestion will adapt.
Avoid heavy Western food your first week. Your gut needs time to settle. Stick with rice, noodles, cooked vegetables, and grilled meat.
Read more: Food guides and restaurant recommendations
The Overwhelm is Normal
You've crossed 10+ time zones. Nothing makes sense. The alphabet is backwards. Traffic is insane. Smiles are confusing (in Thai culture, smiles mean many things, not all of them happiness). Sleep when you're tired. Eat when you're hungry. Don't make major decisions your first 3 days.
One week in, you'll be surprised how normal it feels.
Your Visa Situation: What Comes Next
Most people land on either a Visa Exempt stamp (30 days, recently extended to 60 for many nationalities) or a Tourist Visa (60 days, extendable to 90). If you plan to stay longer than your stamp allows, you need a plan before it expires. The decision is not complicated but the timing matters.
CMA's visa pages explain what each option is and who it suits. For the full step-by-step application process, CMLocals has the procedural detail.
Visa Options at a Glance
- Visa Exempt (30-60 days): Extendable once at Immigration for 30 days (1,900 THB). After that, leave and re-enter or switch to a real visa. CMA: Visa Exempt explained | CMLocals: Full guide
- Tourist Visa (TR, 60 days): Buy at a Thai consulate before arrival or via Thai e-Visa online. Extendable to 90 days total. Good for testing a longer stay. CMA: Tourist Visa | CMLocals: Full guide
- DTV Visa (180 days): Thailand's digital nomad/remote worker visa. No work permit needed for foreign-source income. Apply online. 10,000 THB. CMA: DTV Visa | CMLocals: Full guide
- ED Visa (up to 1 year): Study Thai, Muay Thai, or other disciplines at a registered school. School handles the paperwork. CMA: ED Visa | CMLocals: Full guide
- Retirement Visa (50+): Requires 800,000 THB in a Thai bank or 65,000 THB/month income. Annual renewal. The most stable long-term option for retirees. CMA: Retirement Visa | CMLocals: Full guide
Full overview of all visa options: Thai Visa Advice or the Visa Hub.
Next Steps
You're through week one. Now it's time to set up properly for the long term. From finding your neighbourhood and sorting admin to getting your driving licence and understanding the delivery app ecosystem.
Last verified: May 2026